With document ID c02712867 on 2011/06/08 an advisory for HP Data Protector 6.11 (6.10 and 6.00) was released, which describes a potential security problem when using Data Protector and in some circumstances a remote execution of arbitrary code may possible.
There is a solution, installation of the current patches for the used version of Data Protector. All operating systems are affected.
The complete advisory can be read here: http://h20000.www2.hp.com/bizsupport/TechSupport/Document.jsp?objectID=c02712867&jumpid=em_alerts_us-us_Jun11_xbu_all_all_1292526_87642_software_critical_005_38
Security Bulletin c02810240
With document ID c02810240 on 2011/04/28 an advisory for HP Data Protector 6.11 (6.10 and 6.00) was released, which describes a potential security problem when using Data Protector and in some circumstances a remote execution of arbitrary code may possible.
There is a solution, upgrade to Data Protector 6.2. Only Windows operating systems are affected.
The complete advisory can be read here: http://h20000.www2.hp.com/bizsupport/TechSupport/Document.jsp?objectID=c02810240&jumpid=em_alerts_us-us_May11_xbu_all_all_1242402_79779_software_critical_009_0
Cannot connect to the SCM – omniinetpasswd
During a push installation of the Data Protector Client to a Windows 2008 box, you may receive following error. In the internet or in the documentation of Data Protector you’ll find the needed steps to address this error message. To be complete… it is also posted here.
Cannot connect to the SCM (Service Control Manager) on client xxx.yyy - Access is denied.
To show the configured user execute the list command.
omniinetpasswd -list

No users are configured yet.
To create a new user use the add command and provide the passwort.
omniinetpasswd -add CCC\s-backup

Please enter password:**************

Please retype password:**************
If you redo the list command, the user is shown.
omniinetpasswd -list

s-backup@CCC
Now the user must be added as a user for the installation server.
omniinetpasswd -inst_srv_user CCC\s-backup
At the end you control the settings with the list command.
omniinetpasswd -list

* s-backup@CCC
(*) Installation Server is using this user's credentials during push installation.
Syntax of the command:
omniinetpasswd -?

Usage synopsis:
omniinetpasswd -version | -help
omniinetpasswd -list
omniinetpasswd -add {UserName@Domain | Domain\UserName | UserName} [Password]
omniinetpasswd -delete {UserName@Domain | Domain\UserName | UserName}
omniinetpasswd -modify {UserName@Domain | Domain\UserName | UserName}
omniinetpasswd -[no_]inst_srv_user {UserName@Domain | Domain\UserName}
omniinetpasswd -clean
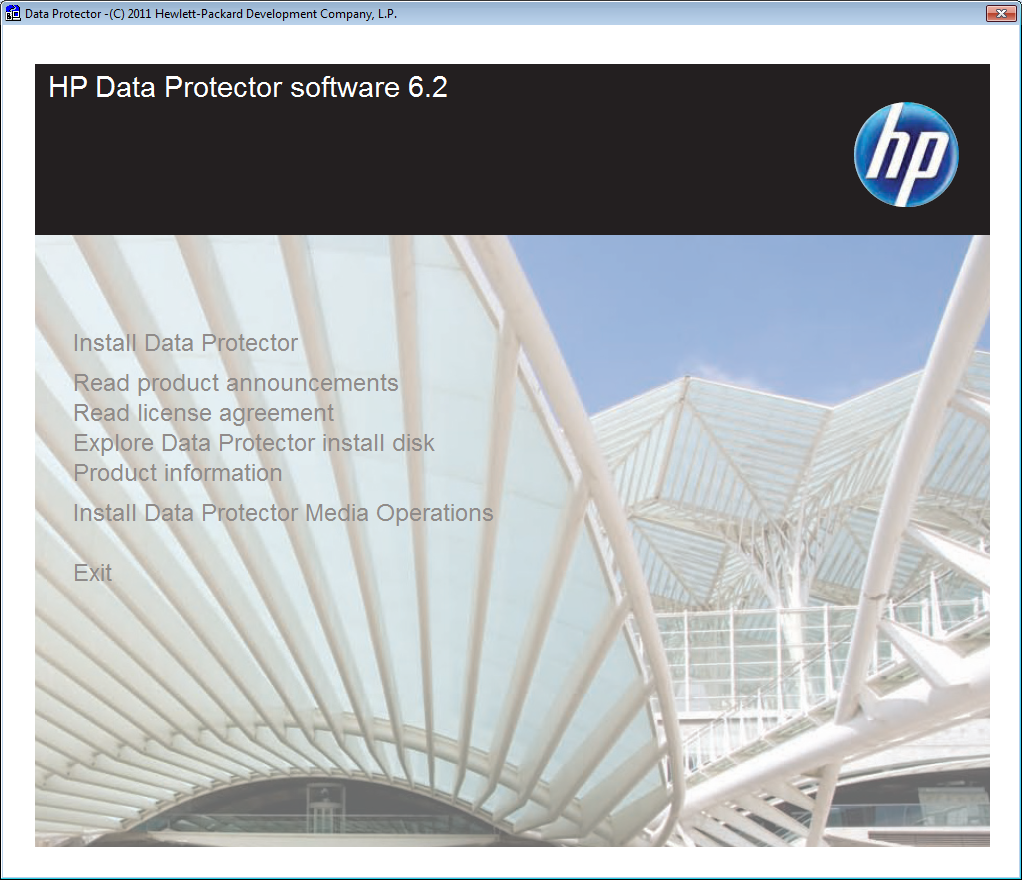
Data Protector 6.2 Installation
For all already waiting for… the new version of HP Data Protector (6.2) will be installed as follows on a Windows 2008 box… Screens were manipulated to show all available options.
UAC may appear prior installation, depending on the configured settings
Welcome Screen
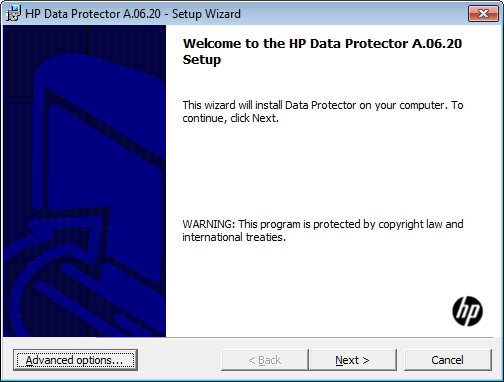
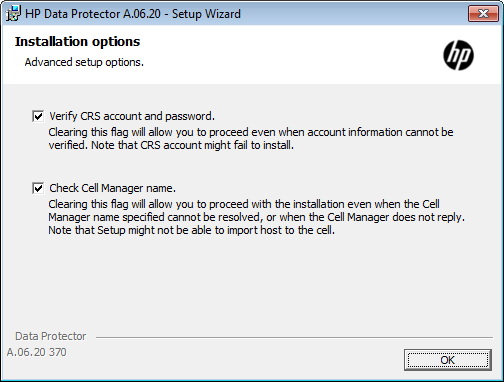
When pressing Advanced you can define settings to be used during the installation
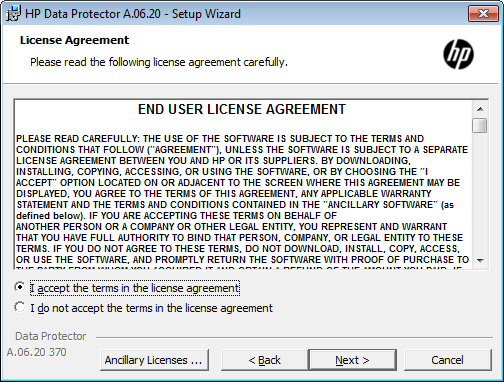
License Agreement
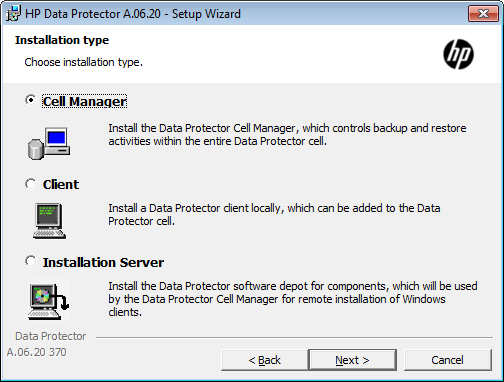
Installation type, in this case, of course, we use cell server
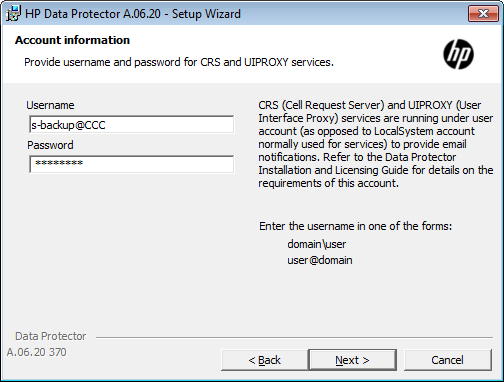
Account information to be used for some of the services of Data Protector, the usage of an local account is possible but not recommended.
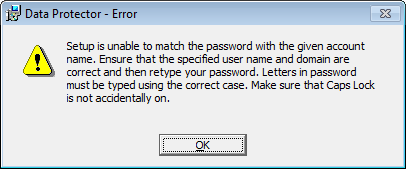
An error message appear when the password is wrong
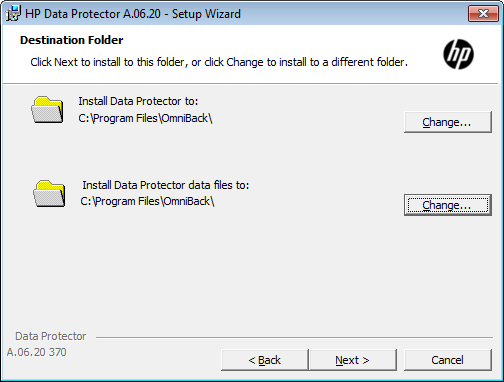
Destination folder for Data Protector
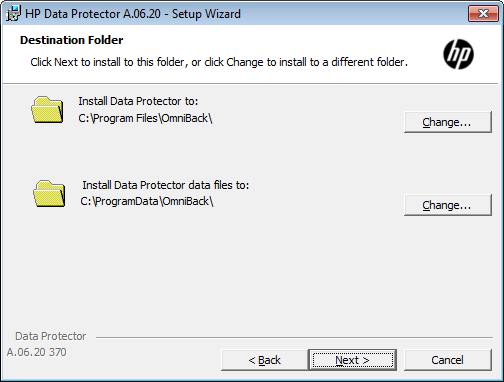
Change Destination folder, in case the server has a mapped LUN from SAN storage it is recommended to change both folders to SAN destination
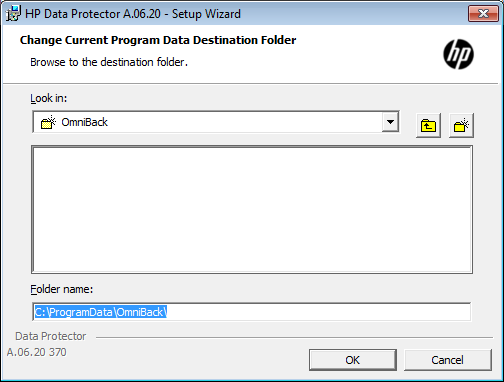
the changed path…
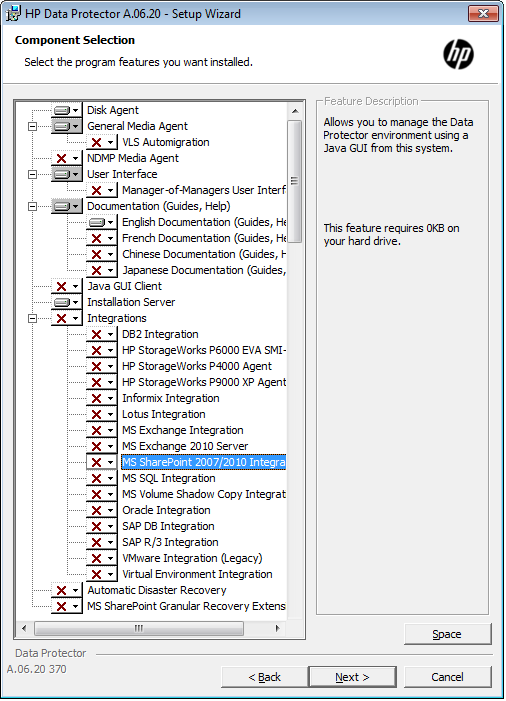
Component selection, VSS, AutoDR, DA, UI, Docu should always be selected for the cell server, IS and MA can also be distributed to another client.
Firewall configuration

Ready to install screen
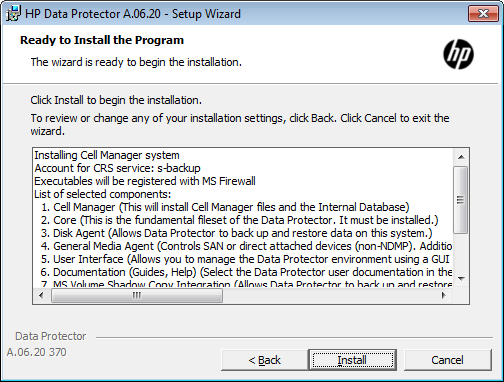
Installation is verified
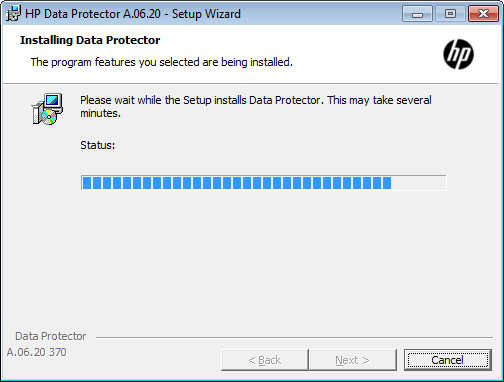
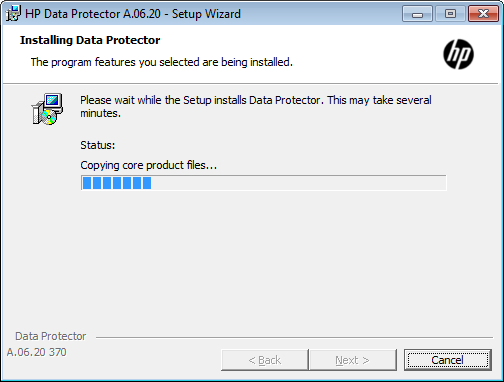
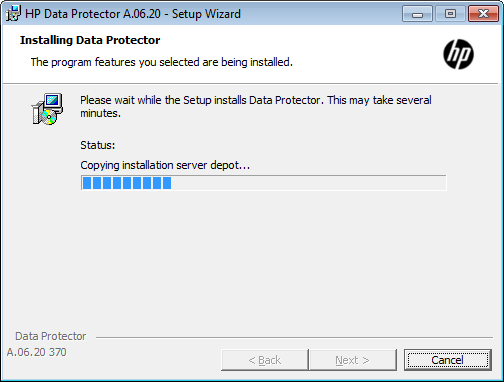
The selected components are installed.
Continued…
If you used a local account at the end you may receive this warning message.
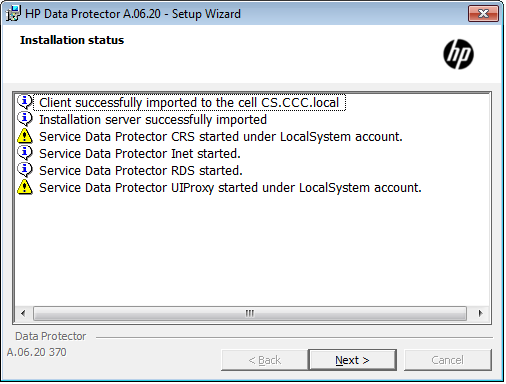
…otherwise installation will finish like this.
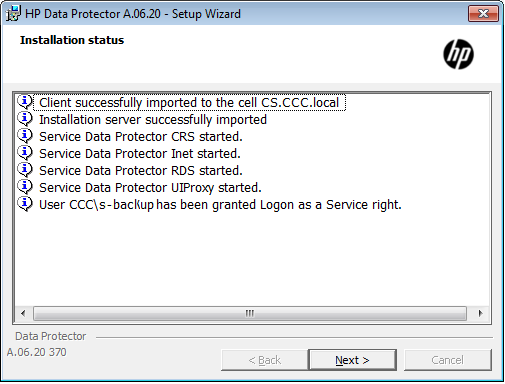
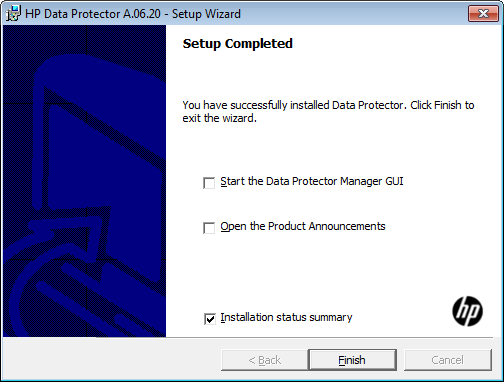
Setup completed, a text file will be opened including installation summary.
Recover Cell Server with Enhanced Automated Disaster Recovery
In article EADR with Windows 2008 R2 I described how to use Data Protector EADR for a Windows 2008 R2 server. I also described in former articles that you should be prepared when your Cell Server crashs. To be able to do EADR for your Cell Server I wrote a small script, which allows you to create the needed ISO file, which can be used to recover your Cell Server to the latest state. The Batch file can be downloaded below. The script will be implemented as Post-exec script in the backup of the IDB (for settings see below), in the configured path the ISO will be generated, including the information for the used media during the backup. All stuff within this article is valid for a Cell Manager on Windows 2008 R2.
[wpdm_file id=9]
It is recommended to test that solution at least once. You may use a imaging tool to create a image from your server.
The main components of the batch are described below.
Variables – all values must be provided:
SET OMNIHOME=D:\Program Files\Omniback – Data Protector home folder
SET WAIKPATH=C:\Program Files\Windows AIK – path to WAIK
SET CELLSERVER=nbdb0001 – name of the Cell Server (use output from omnidbutil -show_cell_name)
SET ISOPATH=%OMNIHOME%\tmp\ – the folder for the ISO to be created
SET SRDFILE=%OMNIHOME%\Config\Server\dr\srd\%CELLSERVER% – SRDFile – fix values
SET P1SFILE=%OMNIHOME%\Config\Server\dr\p1s\%CELLSERVER% – P1SFile – fix values
SET P1SIMAGE=%OMNIHOME%\Config\Server\dr\p1s\%CELLSERVER%.img – P1SImage – fix values
SET NETWORKSHARE=\\servername\share – a network share to copy the ISO off the server
The used exit codes (you can also use other exit codes) will mark the session as “failed” in case of errors.
Do some check before the ISO is created:
if not exist “%ISOPATH%” (
mkdir “%ISOPATH%”
if not exist “%ISOPATH%” (
echo Unable to create the ISOPATH – “%ISOPATH%”. Aborting …
exit 500
)
)
if not exist “%WAIKPATH%” (
echo WAIK not found in “%WAIKPATH%”. Aborting …
exit 500
)
The creation of the ISO file:
"%OMNIHOME%\bin\omniiso.exe" -session "%SESSIONID%" -cd -iso "%ISOPATH%%CELLSERVER%.iso" -srd "%SRDFILE%" -rset "%P1SFILE%" "%P1SIMAGE%" -autoinject -waik "%WAIKPATH%" – creates the ISO using the given variables
"%OMNIHOME%\bin\omnidb.exe" -session "%SESSIONID%" -media > "%ISOPATH%usedmedia.txt" – writes the used media to a text file
"%OMNIHOME%\bin\omnidb.exe" -session "%SESSIONID%" -media -detail >> "%ISOPATH%usedmedia.txt" – adds some more details for the used media
At the end the files are copied to the specified share:
copy "%ISOPATH%%CELLSERVER%.iso" "%NETWORKSHARE%" /Y
copy "%ISOPATH%usedmedia.txt" "%NETWORKSHARE%" /Y
General information: If you now need EADR for your Cell Server, burn the created ISO image to CDROM or in case you have a HP Server, mount the ISO as virtual media within ILO. The EADR process is very similiar to the already described Windows 2008 R2 EADR process. You have to keep in mind that the drive must be maped directly to the server and the media for the restore must be already mounted, as during the DR process the robotic is not used. In the DRMSHELL you will be prompted to select a drive for the offline restore. Please keep also in mind that you used a media with 64k block size for the backup. It is common to create a separate drive with 64k block size and to use a dedicated pool with dedicated media for the backup of the IDB. Other backup jobs might use other drives with higher block size, if available.
Requirements: The article was created with Data Protector patches installed in January 2011 and valid for the mentioned products and versions only (patches from December and additional SSP applied). For further requirements, please refer to the article mentioned above.
Settings for the IDB backup:
- Within the backup specificationall mount points must be selected (in case there is a file library n the cell server, unselect the folders for the file library for the involved montpoints).
- The backup of CONFIGURATION must be done without any excludes.
- The backup of the internal database must be enabled
- The backup for mount oint C: will be done with only these excludes defined: pagefile.sys and c:\windows\system32\config.
- For the munt point where Data Protector is installed exclude the db40 folder.
- In Backup options, in Post-exec edit the call to the batch makeiso.cmd (i.e. “d:\program files\omniback\bin\makeiso.cmd”)
- In Filesystem options in tab Other select “Copy Full DR Image to disk”, all other options stay unselected (“Display statistical info” of course can be selected).
- In Filesystem options in tab WINFS unselect all, except: “Detect NTFS hardlinks”, “Backup share information for directories”, “Use Shadow Copy”
- Important: the backup must be done to a media formatted with 64k blocksize.
- Optional: select a data protection for the IDB other than permanent.
Important part from Post-exec script in session messages:
[Normal] From: BSM@nbdb0001 "DP_TEST"  Time: 17.03.2011 12:45:17

	Starting to execute ""D:\Program Files\OmniBack\bin\makeiso.cmd""...
Script Parameter:
Script Environment: host='LIBDBR' user='NBDB0001\danielbraun'
script='D:\Program Files\OmniBack\bin\makeiso.cmd'
path='D:\Program Files\OmniBack\bin\'
Prepared SRDFILE found, skipping generation
[Normal] From: omniiso@nbdb0001 "omniiso" Time: 17.03.2011 12:45:20
Creating the Disaster Recovery ISO image file. This may take a few minutes...
[Normal] From: omniiso@nbdb0001 "omniiso" Time: 17.03.2011 12:45:22
Initializing MiniOS directory structure.
[Normal] From: omniiso@nbdb0001 "omniiso" Time: 17.03.2011 12:45:24
Mounting MiniOS image.
[Normal] From: omniiso@nbdb0001 "omniiso" Time: 17.03.2011 12:45:33
Inserting Recovery Info file into the MiniOS image file.
[Normal] From: omniiso@nbdb0001 "omniiso" Time: 17.03.2011 12:45:33
Inserting Hardware Info file into the MiniOS image file.
[Normal] From: omniiso@nbdb0001 "omniiso" Time: 17.03.2011 12:45:33
Inserting Network Info file into the MiniOS image file.
[Normal] From: omniiso@nbdb0001 "omniiso" Time: 17.03.2011 12:45:33
Inserting ASR BCD file into the MiniOS image file.
[Normal] From: omniiso@nbdb0001 "omniiso" Time: 17.03.2011 12:45:33
Copying MiniOS system files to the image file.
[Normal] From: omniiso@nbdb0001 "omniiso" Time: 17.03.2011 12:45:36
Copying DRM binaries to the image file.
[Normal] From: omniiso@nbdb0001 "omniiso" Time: 17.03.2011 12:45:36
Copying DRM configuration directory to the image file.
[Normal] From: omniiso@nbdb0001 "omniiso" Time: 17.03.2011 12:45:36
Copying backup application depot directory to the image file.
[Normal] From: omniiso@nbdb0001 "omniiso" Time: 17.03.2011 12:45:36
Configuring vendor specific system images.
[Normal] From: omniiso@nbdb0001 "omniiso" Time: 17.03.2011 12:45:36
Creating the MiniOS image startup file.
[Normal] From: omniiso@nbdb0001 "omniiso" Time: 17.03.2011 12:45:36
Installing additional MiniOS packages.
[Normal] From: omniiso@nbdb0001 "omniiso" Time: 17.03.2011 12:46:04
Installing additional MiniOS packages.
[Normal] From: omniiso@nbdb0001 "omniiso" Time: 17.03.2011 12:46:11
Cleaning up MiniOS image, preparing it for usage.
[Normal] From: omniiso@nbdb0001 "omniiso" Time: 17.03.2011 12:46:11
Injecting driver files into the MiniOS image.
[Normal] From: omniiso@nbdb0001 "omniiso" Time: 17.03.2011 12:46:27
Initializing MiniOS scratch space.
[Normal] From: omniiso@nbdb0001 "omniiso" Time: 17.03.2011 12:46:29
Dismounting/Committing MiniOS image.
[Normal] From: omniiso@nbdb0001 "omniiso" Time: 17.03.2011 12:46:42
Writing CD-ROM ISO image to the target location.
[Normal] From: omniiso@nbdb0001 "omniiso" Time: 17.03.2011 12:46:43
Successfully created the Disaster Recovery ISO image.
Finished
[Normal] From: BSM@nbdb0001 "DP_TEST" Time: 17.03.2011 12:46:44
The exec script ""D:\Program Files\OmniBack\bin\makeiso.cmd"" has completed.